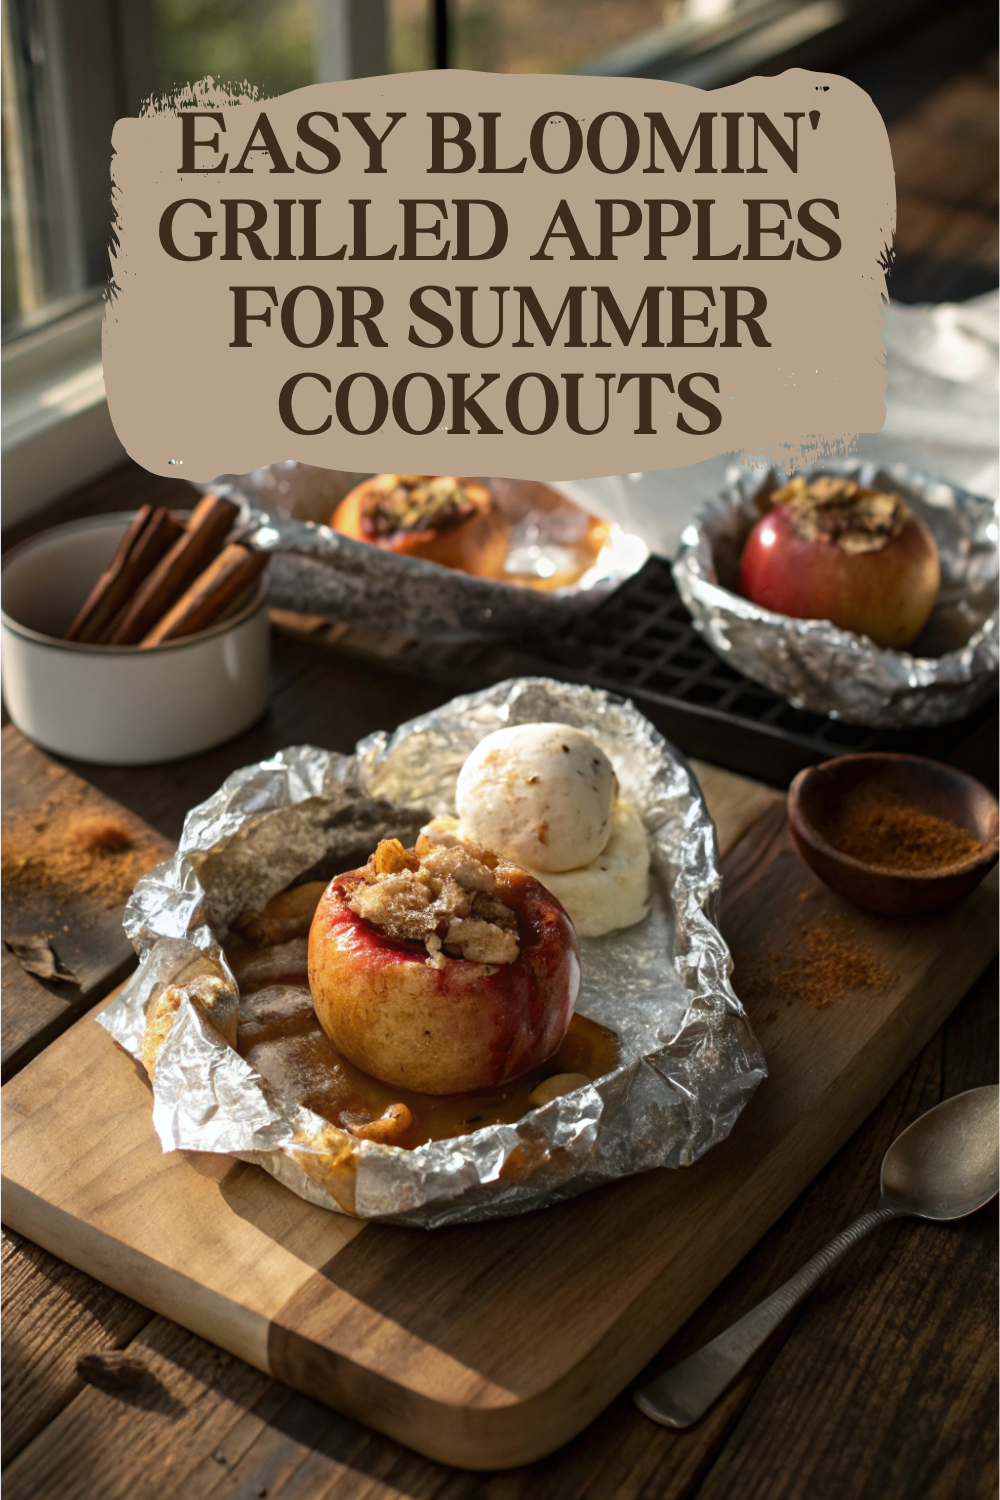
Bloomin’ Grilled Apples
The first time I made these bloomin’ grilled apples, it was honestly because I forgot to buy dessert for a backyard cookout. I had burgers going, corn on the grill, people already showing up, and suddenly realized I had absolutely nothing sweet in the house except a few apples sitting in the fruit bowl getting dangerously soft.
I sliced them up, stuffed them with butter, brown sugar, and cinnamon, wrapped them in foil, and hoped for the best. Somehow they ended up being the first thing to disappear that night. Now I make them on purpose, especially during summer cookouts and fall weekends when I want dessert without turning on the oven.
Why This Recipe Works
Here’s the thing about grilled apples: they can go mushy really fast if you overcomplicate them. What I figured out is that keeping the apples mostly whole helps them soften without collapsing. The cuts open up while grilling, kind of like a blooming onion, so all the cinnamon butter melts down into every bite.
I also like this recipe because it feels homemade without requiring actual baking skills. If you can use a knife and wrap foil, you can make this.
Ingredient Notes
I usually use Honeycrisp or Fuji apples because they hold their shape better on the grill. Softer apples turn into applesauce pretty quickly once the heat hits them.
For the butter, I use salted because it balances the sweetness from the brown sugar. Unsalted works too, but I’d add a tiny pinch of salt.
And don’t skip the foil. I tried grilling them directly on the grates once and lost half the filling straight into the fire.
How to Make It
Start by washing the apples really well since the skins stay on. Using a sharp knife, cut vertical slices all around each apple without cutting completely through the bottom. The apple should stay intact while opening slightly like a fan.
Mix softened butter, brown sugar, cinnamon, and a little vanilla in a small bowl. The mixture should look thick and grainy. Use your fingers or a small spoon to press the filling between the apple slices as best you can. It gets messy, but that’s normal.
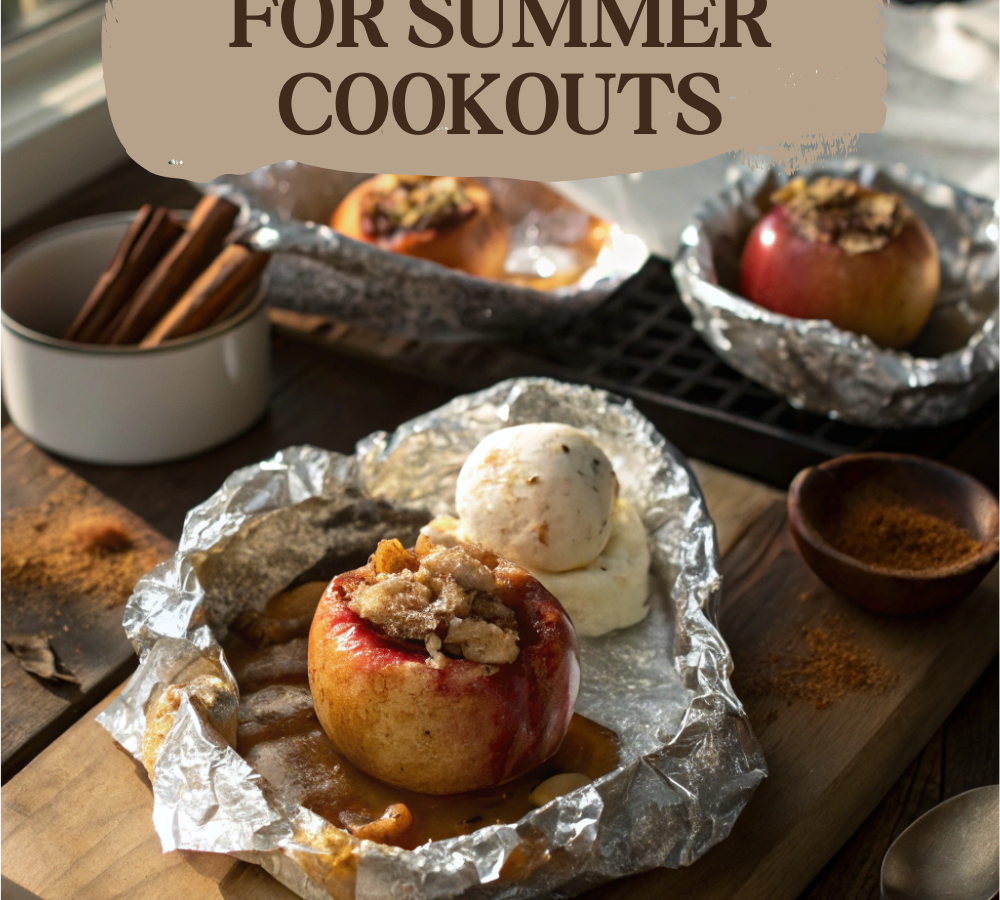
Place each apple on a square of foil and wrap loosely so steam can still circulate inside. Set them on a medium grill, not blazing hot. If the heat’s too high, the bottoms burn before the centers soften.
After about 20 minutes, the apples start opening wider and the brown sugar melts into a bubbling sauce. The smell honestly reminds me of apple pie filling cooking on the stove. I usually open the foil carefully near the end just to let the tops caramelize slightly.
The apples are done when a knife slides in easily but the fruit still holds its shape.
Things I Learned the Hard Way
Don’t cut all the way through the bottom of the apples. I did that during my first attempt and the whole thing collapsed into sugary apple chunks inside the foil.
If your apples are huge, they’ll take longer than you expect. I’ve had some take nearly 35 minutes depending on the variety.
People always ask if these can be made in the oven. Definitely. I bake them at 375°F for about 30 minutes in a small baking dish covered loosely with foil.
And if you want extra crunch, add chopped pecans during the last few minutes instead of at the beginning. Burnt nuts taste bitter fast.
Storage & Serving Suggestions
These are best warm right off the grill, but leftovers keep in the fridge for about 3 days. I reheat them in the microwave for about 30 seconds or warm them in the oven.
Serve them with vanilla ice cream, whipped cream, or even plain Greek yogurt for breakfast the next morning. I’ve done both.